If you have a vehicle or fleet of vehicles that you use for events or as part of your service, it is simple to add them to your profile. Once it is added, you can assign any given vehicle to a specific event. Keep track of your business' vehicles and avoid double-booking!
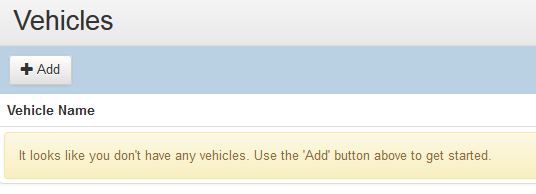
To add a Vehicle, click on the Menu button, and choose Vehicles from the pull-down menu. This will load the Vehicles page.

From here, simply click the +Add button.

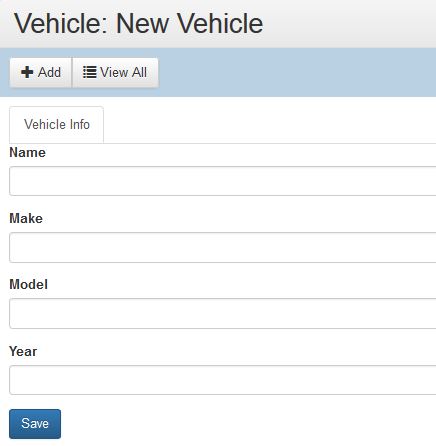
The new New Vehicle page will load, allowing you to input important information about your vehicle, including the name, make, model, and year, as well as any notes. Be sure to click the Save button to save your information.

Once you add your first vehicle, you can add mileage information by clicking on the Mileage tab, delete the vehicle by clicking on the Delete button, or add another vehicle by choosing +Add and repeating the process again.
Adding Mileage to Your Vehicle
Clicking on the Mileage tab lets you enter important mileage data. This data can be added multiple times and lets you keep track of the start and end mileage (plus their total) a vehicle used for an event, as well as the destination, driver (selected from your Crew members), and the type of event (business or personal).
Once you fill in the relevant information, click the Add button to save the data. To remove an entry, simply click the Delete button at the end of the row.
How to Edit a Vehicle
When you initially visit the Vehicles page, you will be presented with a list of current vehicles attached to your profile. To edit one of these vehicles, simply click on the Vehicle Name.
This will load the vehicle's entry, where you can add Mileage information or click on the Vehicle Info tab to edit data about your vehicle.